With my time off I’ve been slowly building up my skills with wood. I’ve built a couple bigger things (chicken coop 2x, shed 1x, table saw table based on this video, planer table based on this video) but haven’t really done any indoor projects. I stumbled across this really nice looking coat rack blog post months ago:
https://www.instructables.com/Modern-Coat-Rack/
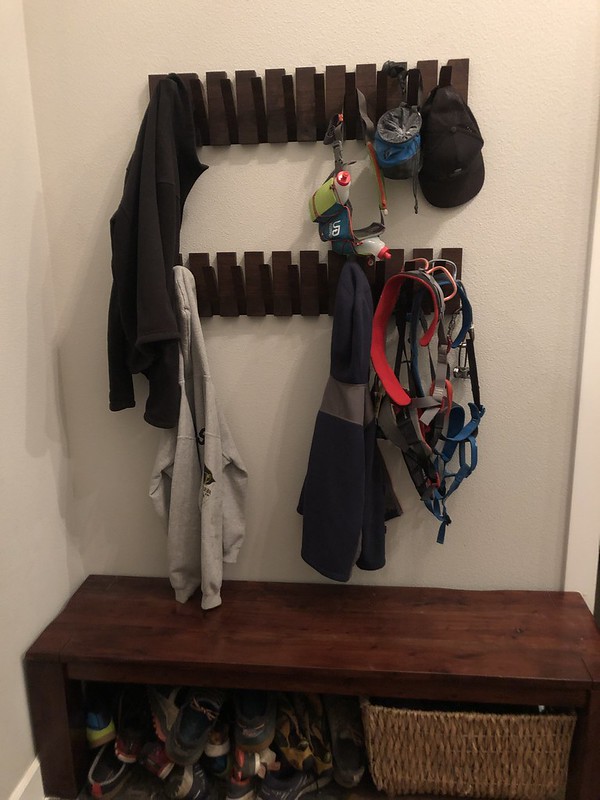
and had it on my list to build since then. I made time this week to finally make it happen and I built two of them, to stack, which IMHO, turned out alright:

Here are some build notes:
1) That blog post doesn’t start with a cutting list… which is a bummer because I initially overestimated the thickness of the board that one would need to build this project and unnecessarily spent a bunch of money on a board that was 2 inches thick by 6 inches tall that I’ll have to find another use for. Lesson #1: build a model first with cheap wood, then buy the expensive stuff.
2) Alternatively, head on over to this blog post, which has precise dimensions for what you’ll need to buy. I ended up over at Woodcrafters in Portland (after a visit to Crosscut Hardwoods for the first board) and found seven foot black walnut board that was about 1×7. I ended up building 2 racks (an upper and a lower) each measuring about 32 inches long but to start, I cut 2 pieces off of the board and made a model based on the Family Handyman (FH from here on out) dimensions, which worked great.
3) After using my table saw to get a precise 7″ tall board and cutting out two 35″ segments, I started cutting the individual pieces. The FH blog post has a nice graphic that shows how to use a crosscut sled (not yet in my arsenal) and a 1″ spacer but I opted instead to first cut a bunch of ~3″ pieces and then individually cut out the 1″ pieces, which I think is less movement overall. Either way, I need to make a sled.
4) The two blog posts then diverge… the Instructables post has you go directly to cutting the angle pieces where the FH post instead has you drill the holes for the dowel. I followed the Instructables post but in hindsight, it would be have been easier / more accurate to first cut the holes for the dowel on every piece.
5) For the drill holes, I clamped (didn’t build) a jig to my drill press and drilled a 3/8″ hole with a Forstner bit through each piece. The job would have been tighter if I had built a jig.
6) Cutting the angles on the pieces was easy… for the 45° angle at least… I had a hard time figuring out how to do the 60° angle with my mitre saw until I rotated the piece 90° and then clamped a jig to the mitre saw to make that cut repeatable. I’m still not sure if I did that right though. FWIW, the Instructables blog post has no information about how to create those cuts.
7) Another divergence in the plan… the Instructables post has you sand and stain your pieces… and then build them up on the dowel. The FH post has you sand, then build, then stain. I ended up sanding and then staining, which I think slightly expanded the wood, and then trying to insert the dowel, which didn’t work at all, even after applying wax. I ended up having to sand the dowel across the entire length multiple times to get the pieces to slide on.
8) Like both posts, I used keyhole hangers (first freehand routing out the hanger shape, then the hanger hole) to hang my rack on the wall… and after watching a great YouTube video on the subject, landed on these EZ-Core Drywall Toggle Anchors, which after one or two misfires, worked very nicely. I’ll never buy a different kind of drywall anchors, those are bomb proof.
Overall, a fun and very practical (we have lots of hats and hooded jackets / sweatshirts here in Oregon) project, it’d be fun to do again with a different type of wood and stain.